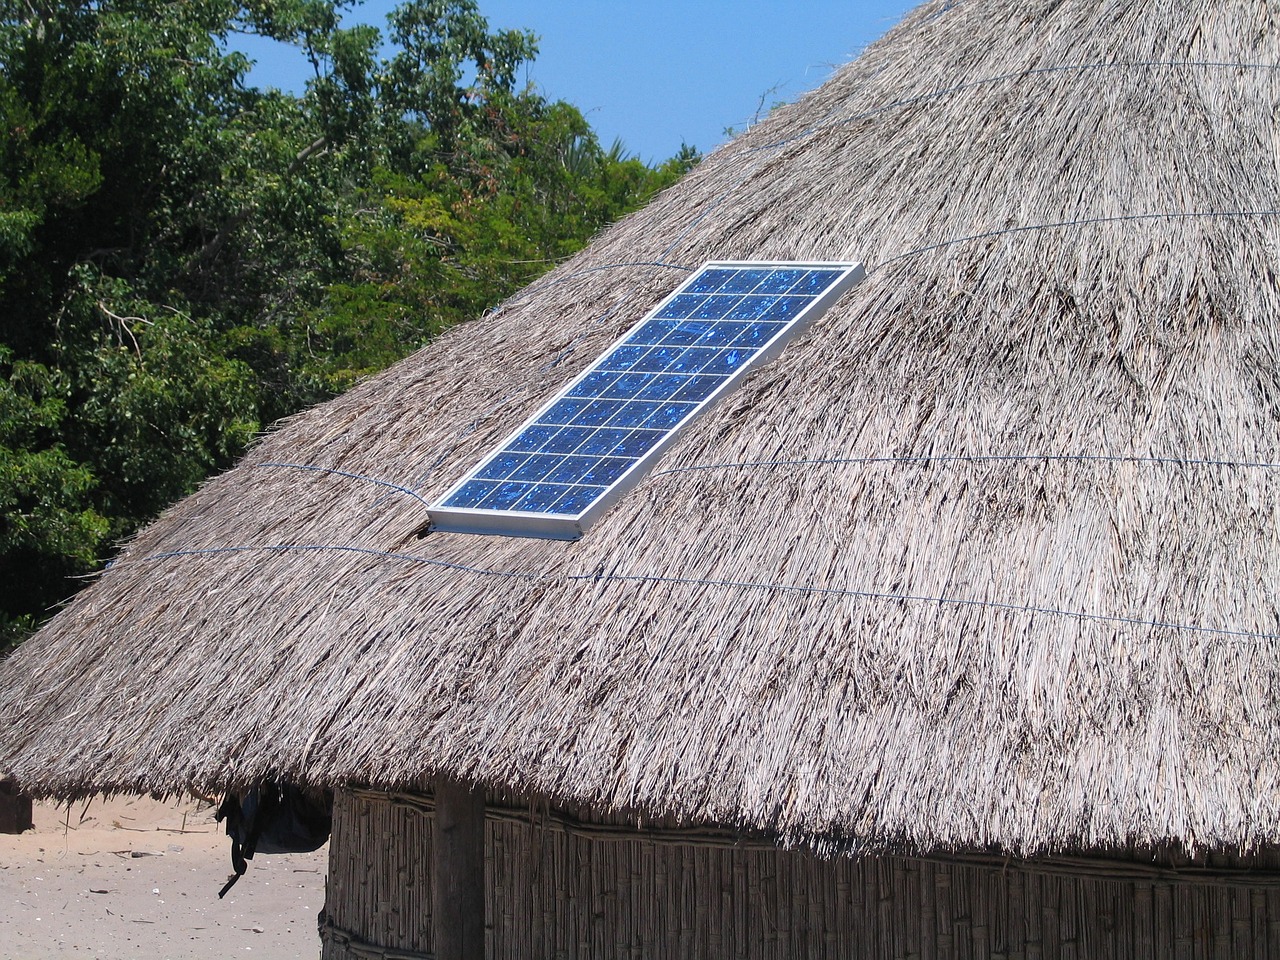
Creating a DIY solar panel is a complex and potentially hazardous project that requires a good understanding of electrical systems, soldering, and working with potentially dangerous materials. Additionally, homemade solar panels are unlikely to match the efficiency and durability of commercially manufactured ones. However, if you are interested in exploring this project for educational purposes and have the necessary skills and safety precautions, here’s a simplified overview of how you can create a small DIY solar panel:
Materials and Tools:
- Solar cells (also known as photovoltaic cells)
- Bus wire or tabbing wire
- Flux pen or soldering flux
- Soldering iron and solder wire
- EVA (Ethylene Vinyl Acetate) encapsulant sheets
- Backing material (such as plywood or acrylic)
- Clear acrylic or glass sheet
- Silicone adhesive or encapsulant
- Junction box or diode (for safety)
- Multimeter (for testing)
- Safety glasses and gloves
Steps to Create a DIY Solar Panel:
- Gather Solar Cells: Purchase solar cells from a reputable supplier. These cells are typically made of silicon and are the building blocks of solar panels.
- Connect Solar Cells: Arrange the solar cells in a desired configuration (e.g., in a grid) on the backing material. Use bus wire or tabbing wire to connect the cells in both series and parallel connections. This will depend on your desired voltage and current output.
- Solder Connections: Use a soldering iron to solder the wire connections between the solar cells. Apply soldering flux to ensure good solder joints. Be careful not to overheat the cells, as excessive heat can damage them.
- Encapsulate Cells: Place EVA encapsulant sheets over the connected solar cells. Ensure that the cells are well protected and encapsulated. The encapsulant will help protect the cells from environmental factors and secure them in place.
- Seal the Edges: Use clear silicone adhesive or encapsulant to seal the edges of the encapsulated cells. This will create a waterproof and airtight seal to protect the cells further.
- Mount the Panel: Attach the acrylic or glass sheet to the front of the panel to protect the cells from physical damage while allowing sunlight to pass through.
- Install Junction Box or Diode: For safety reasons, install a junction box or diode on the back of the panel. This helps prevent reverse current flow and electrical issues.
- Test Your Panel: Use a multimeter to test the voltage and current output of your DIY solar panel in different lighting conditions. Make sure it’s generating the expected power.
- Mount and Connect: Install your DIY solar panel in a location where it can receive direct sunlight. Connect the wires from your panel to a charge controller or an inverter to use the generated electricity.
Remember that this is a simplified overview, and building a solar panel is a precise and meticulous process. DIY solar panels are typically small-scale and not suitable for providing significant power. Moreover, safety precautions and adherence to electrical codes are essential to prevent accidents. If you’re looking for a more practical and efficient solar energy solution for your home, it’s usually best to purchase commercially manufactured solar panels and have them installed by professionals.


